Yeast water is quite close to sourdough, but instead of flour, the source of wild yeast and food for it comes from fruit. I’ve been reading about this for a while, but now I’m in Poland with fresh ripe local fruit available and it would be stupid not to try and make it.
Woda drożdżowa jest podobna do zakwasu, ale zamiast mąki, źródłem dzikich drożdży i pożywką dla nich są owoce. Czytałem o tym już od jakiegoś czasu, ale teraz jestem w Polsce, z dostępem do świeżych, lokalnych, dojrzałych owoców, i byłoby głupim nie spróbować jej zrobić.
I have initially made this post based on my daily updates on Steemit. It is a new way of reaching people that I’m exploring, follow me if you’re interested: https://steemit.com/@breadcentric.
I have however decided to redo it as it felt it had too much noise in it. If you still want the whole story, here you will find a list of my daily posts with the experience.
Why yeast water?
Why not? It’s one of new experiences to me. It builds a ferment that you can use for sweet or savoury dishes. It contains yeast and a bit of lactic bacteria just like sourdough. But first of all it looks awesome, fizzing away in the bottle.
The nice thing about it is that it’s gluten-free, so you can use it when you’re celiac. I baked a gluten-free bread with it and it was awesome.
What fruit to use?
What have you got? The first one I made was with fresh fruit from the marketplace:
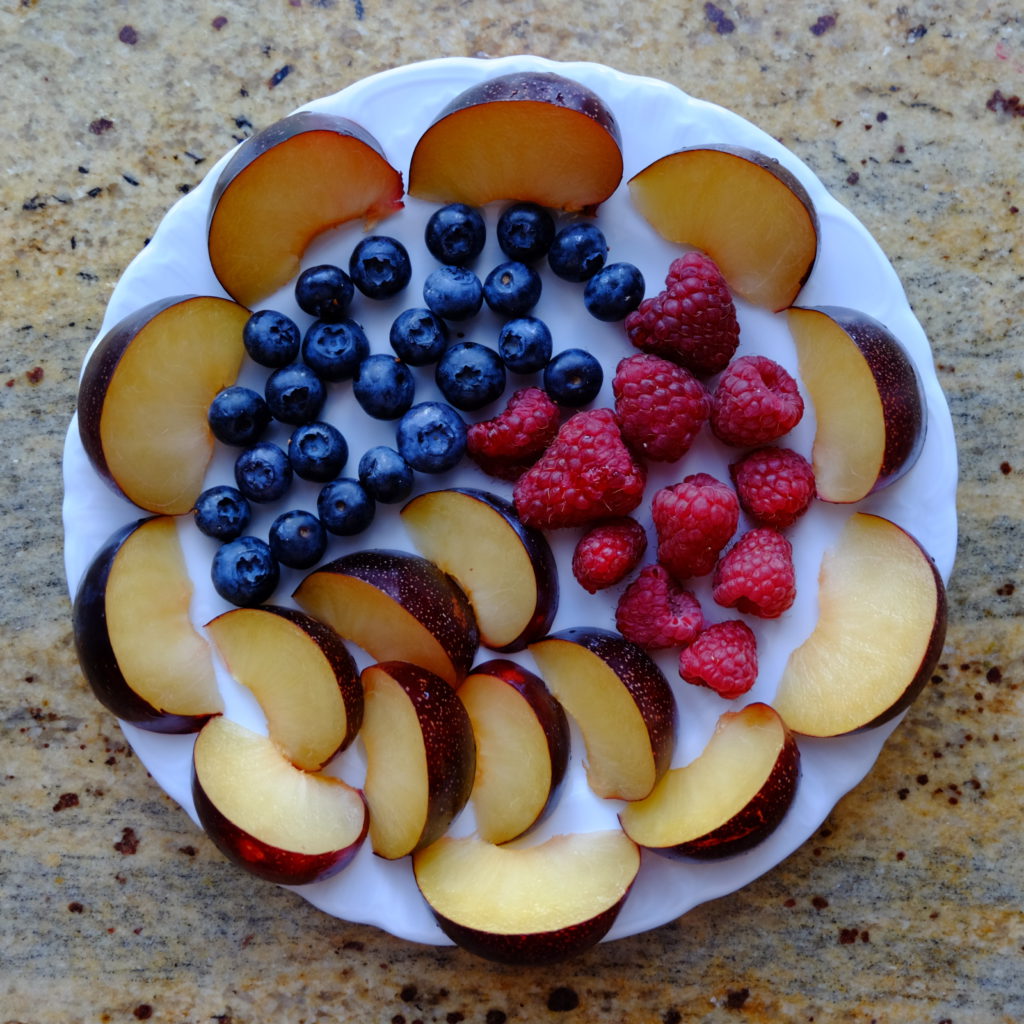
I have taken some plums, raspberries and blackberries and put them in a jar with water.
If you’ve got ripe apples or pears in the garden, use them. Plums? Perfect. The only ones I’ve heard not to use are pineapples (the enzymes will destroy the dough unless you treat the pineapples somehow, I’ve heard of people managing to do it, it’s too much of a hassle in my opinion).
The second yeast water was made with dates. I just bought them in the store. They work really well. You can use raisins as well. I’ve seen people using flower petals as well.
How long will it take?
I baked the first bread after five days (recipe below). After that it’s pretty much ready and will work just fine.
How long will it last?
Once it starts, it will keep going. If you don’t use it, keep it in a fridge and feed it every now and then. I put it into a bowl through a collander to leave the old fruit out, rinse the bottle, add clean water, new fruit, a couple spoons of the old water. If I have an idea, I bake something with the water, if not, I dispose of it.
The longest I have left it unattended so far was seven months – I baked with it around Christmas, put it in a fridge. I got back to my parents’ house late July, fed it and could bake two or three days later. I fed it with White Transparent apples and Mirabelle plums growing on trees behind my parents’ garden.
A couple words of caution
You’re fermenting fruit, so expect loads of fruit flies. The only way that seemed to keep them away was wrapping the jar loosely with cling film (just to let some of the carbon dioxide out)
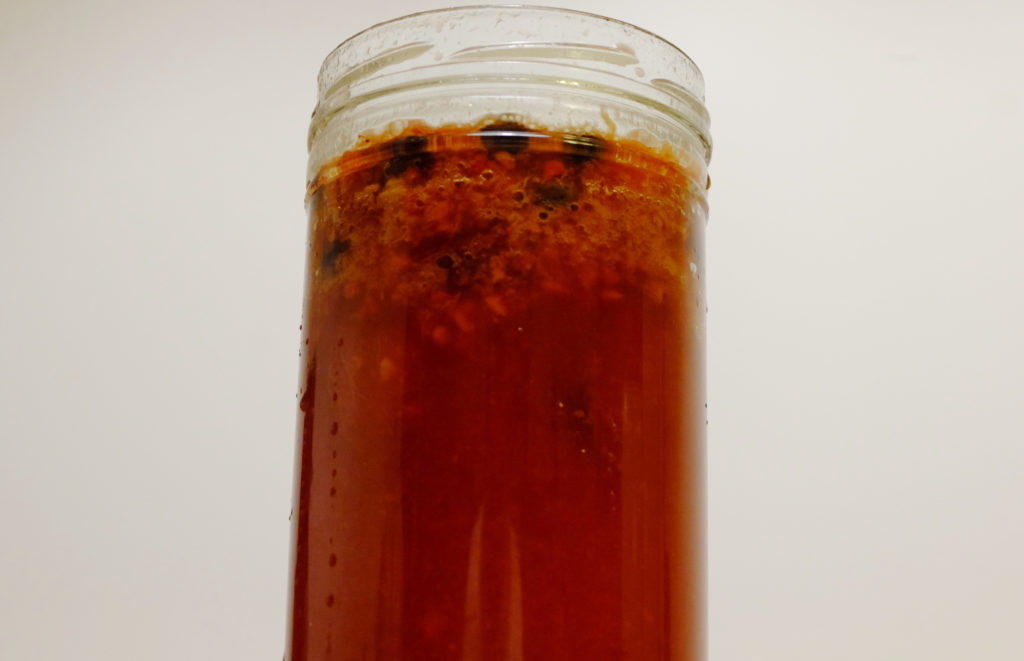
Also, you’re fermenting fruit so there will be a gas buildup. This is not just cool stuff. If you’re lucky, you’ll get something like this:
If you’re semi-lucky, you’ll get to wash the water off your wall, when the cap shoots off the bottle.
If you’re semi-unlucky, you’ll get fruit stains on your ceiling or a broken window (yes, I’ve seen pictures of a window shattered by an exploding jar.
If you’re unlucky, someone could get hurt.
This is not a joke. The pressure can do substantial damage to containers. Either don’t close it tightly or use an airlock. I usually use a bottle that leaks gas. For slow process it’s enough, if not, I put an airlock on – I got one of those you would see on a wine making kit.
How to make a yeast water
- Wash the fruit of your choice. You may want to pretty much rinse it only to leave some natural yeast on them
- Put the fruit in a container and add water
- Leave it in a warm place
- Every day give it a stir once or twice
That’s really it.
Possible hacks:
- add raisins as a source of sugar
- add honey as a source of sugar
- add sugar as a source of sugar
I did add honey after three days or so when I thought the water wasn’t active enough. After that I used sugar once or twice when I had no fruit around to feed the water. Sugar will get things going in general. I know people who use sugar every time. Their water is much more active than mine, but I don’t mind that.
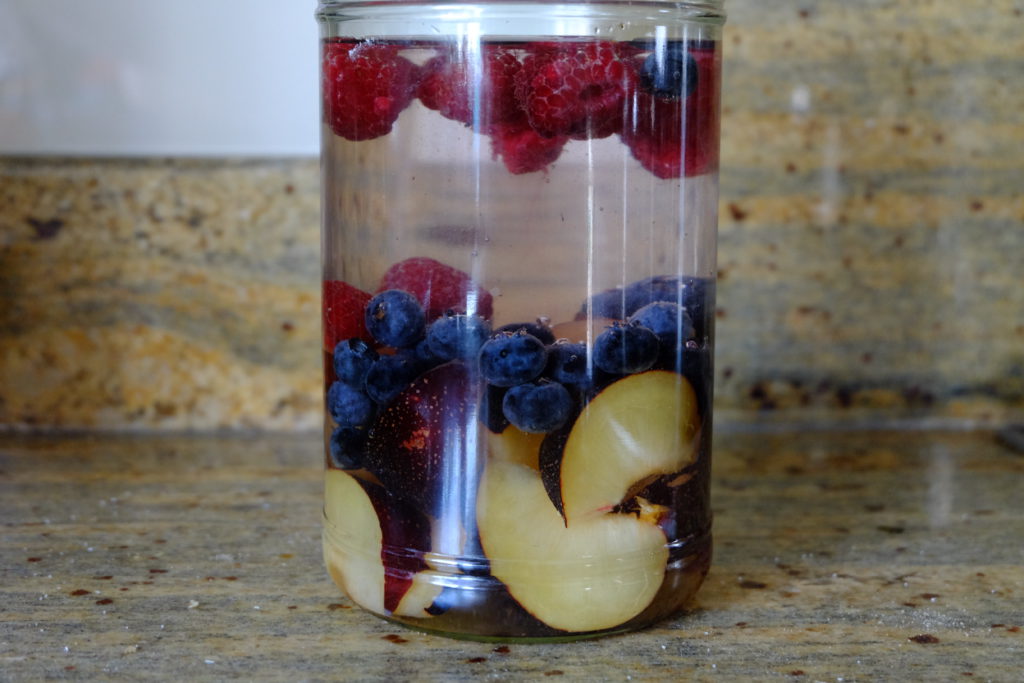
After a couple days I got something like this:
It got even more active later.
The bread
I decided to make some bread using a recipe from The Fresh Loaf. I prepared the ingredients and reviewed the recipe, so that I’m not like the usual me, messing things up by ignoring the instructions (recipe source). I came to a conclusion it al should turn out just fine.
Planning
30 minutes autolyse, 2.5h bulk proof (with stretch and folds, so don’t go anywhere), preshape, 20 minutes, shape, 1 hour on the work top, 8 hours in the fridge. Baking for 40 minutes. Together it’s about 13 hours. Add 30 minutes manual work.
I used a banneton for a final proof. If you don’t have one, use a strainer and a flour-dusted clean kitchen towel.
Ingredients
I have a big basket so I have doubled the quantities, but here they are unchanged. This will give you 670 grams of dough.
- 198 g wheat bread flour (in Poland type 850, in UK strong white)
- 158 g wheat all purpose flour (in Poland type 390-450 tortowa, in UK plain)
- 40 g wholemeal wheat flour (in Poland type 1100 or more, in UK wholemeal strong)
- 8 g salt
- 266 g yeast water
Preparation
- Mix flours in a bowl and add the yeast water. Make sure you incorporate the whole flour, but don’t knead just yet
- Leave covered with cling film for 30 minutes for autolyse – in very short it is the dough self-kneading. It uses the time for water to bind with glutenin and gliadin and form the gluten mesh. Enzymes activated by water enhance the process and further prepare the dough for proofing
- Add salt and knead the dough. I keep a bowl with water next to the bowl with dough and dip my hand every now and then so that the dough doesn’t stick. First fold the dough, then pinch it and fold again for a couple minutes
- Leave covered with cling film for 50 minutes
- Stretch and fold, leave covered with cling film for 50 minutes
- Again, stretch and fold, leave covered with cling film for 50 minutes
- Preshape the dough. I made a round loaf. Leave for 20 minutes
- Shape the dough into a desired shape. In my case a batard. Pop it into a banneton or whatever you proof your bread in. Don’t leave it in the open. If you had a quick rising bread, that could work. This one will wait nine more hours before baking. Leave it for one hour on the worktop in the kitchen
- Put it in a fridge for eight more hours
- Set the oven to 240C. Don’t use the fan. Know your oven
- Add steam, score the loaf (I usually make a single score along the batard in hope for a nice opening and an ear), put it into the oven
- After 15 minutes release the steam and lower the temperature to 230C. Bake for 25-30 more minutes
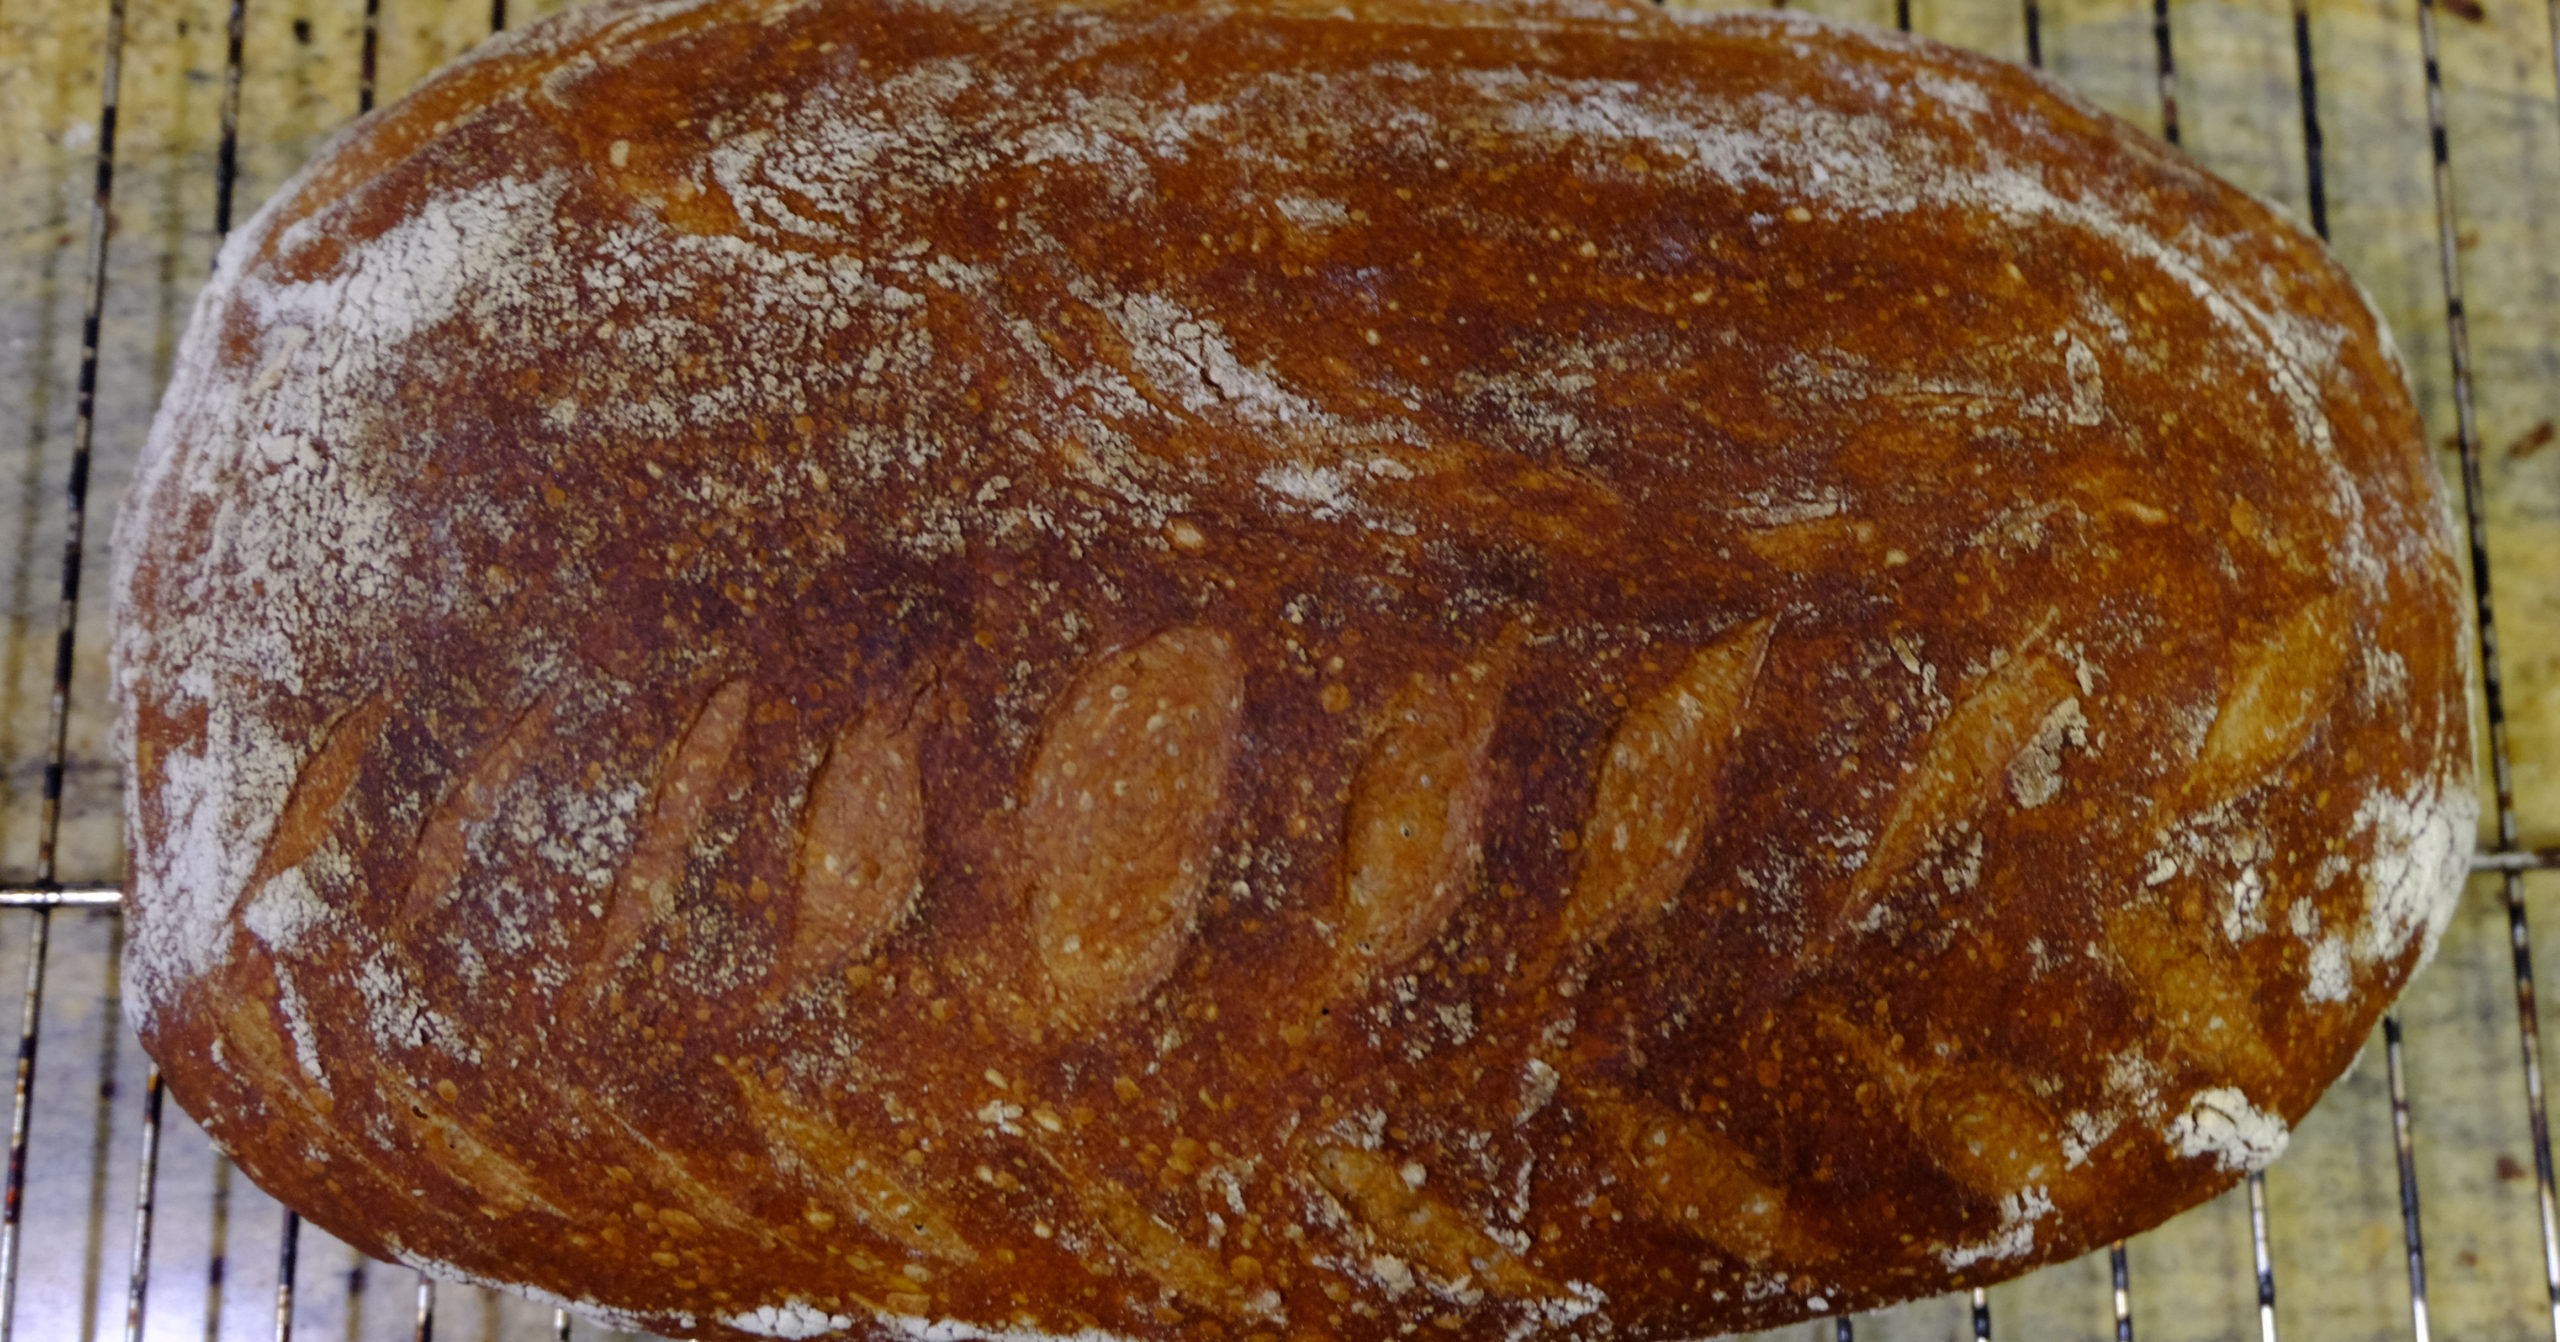
- Transfer the loaf onto a cooling rack until it gets completely cool
If you use up most of the yeast water, remember to feed the rest and add fresh water.
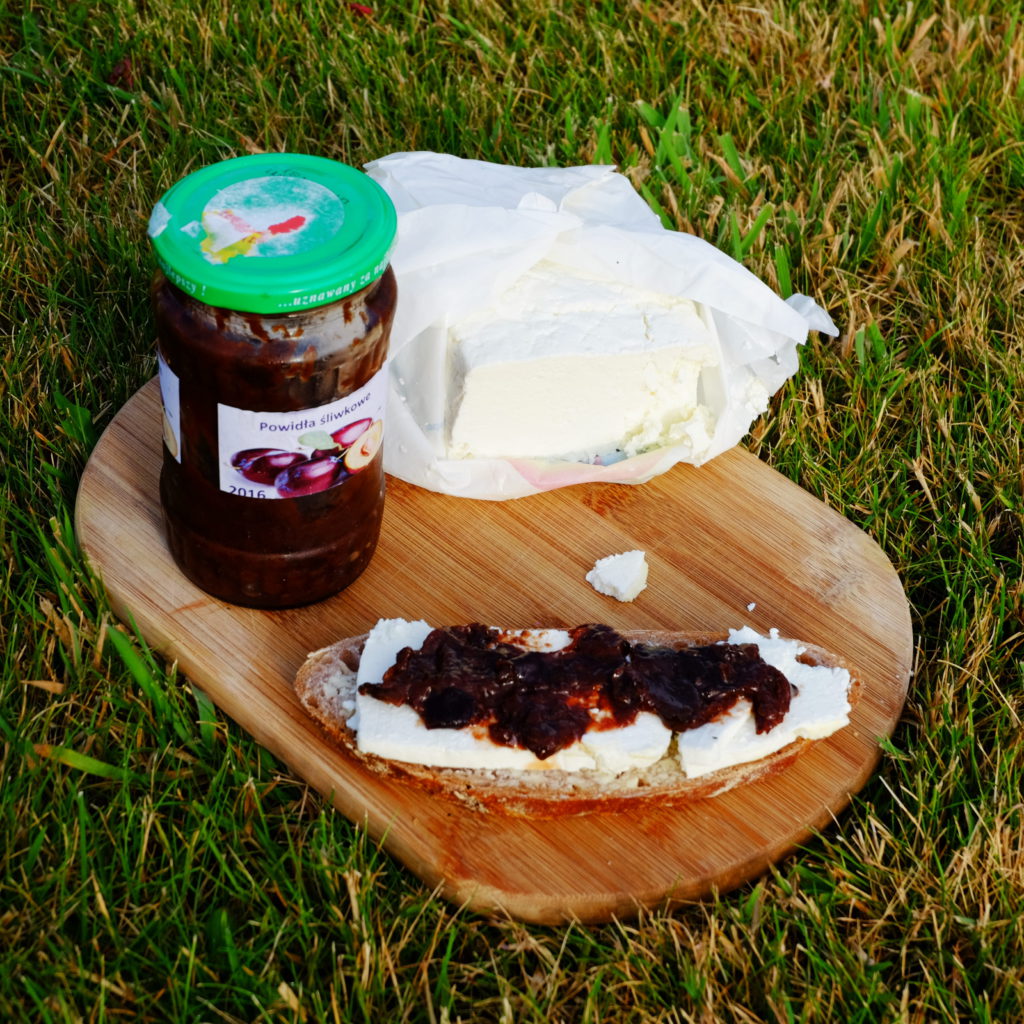
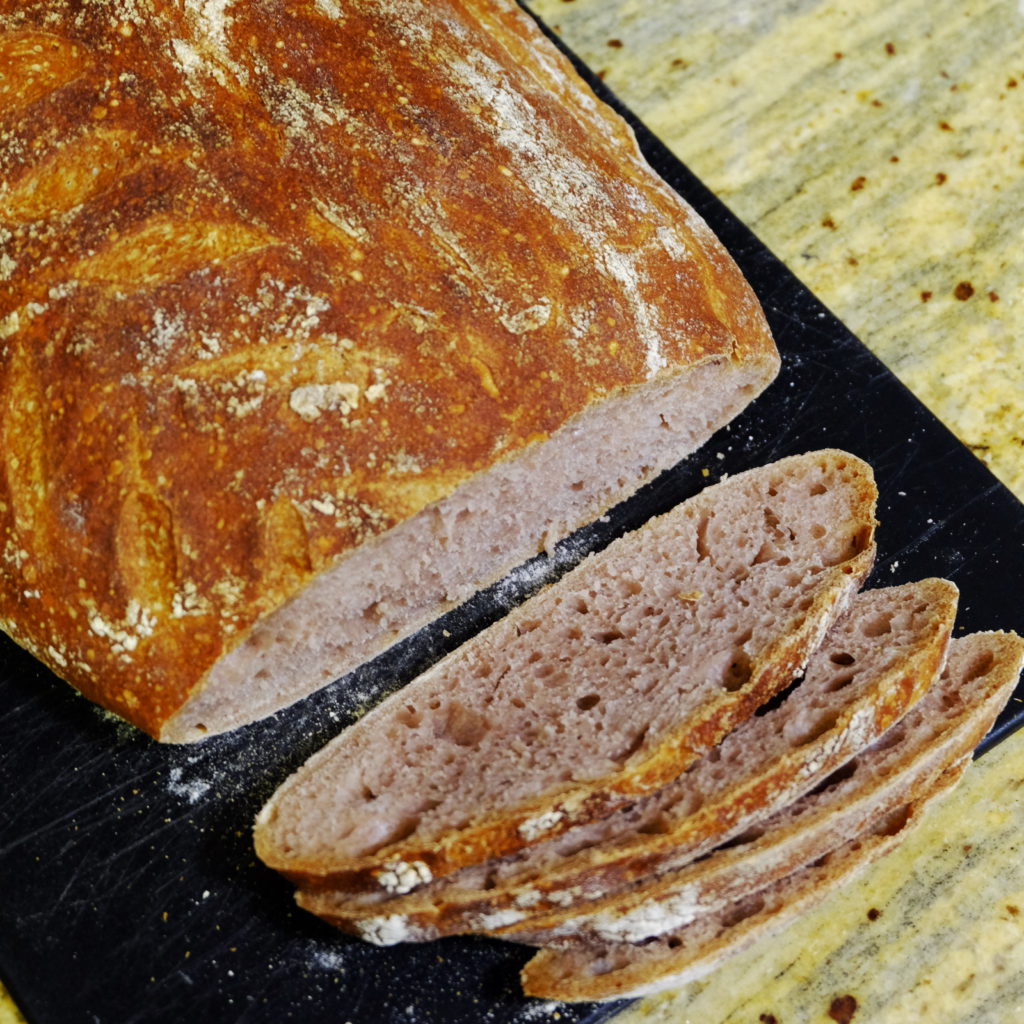
The bread normally doesn’t feel like it was made using fruit. Except for the first one – I did not have enough liquid in the jar and pressed it so hard agains the strainer that I mashed some of the fruit and added it. The bread got slightly pink. The next ones did not get that.
There is a lot of things you can do with your yeast water. I recommend visiting my tag yeast-water to get some more ideas.
Pierwotnie wpis ten powstał w oparciu o moje codzienne raporty na Steemit. Steemit to platforma blogowa, którą testuję. Możesz mnie tam obserwować: https://steemit.com/@breadcentric.
Ostatecznie postanowiłem przepisać ten materiał, aby usunąć zbędny szum, a dodać kilka informacji. Jeśli wciąż chcesz przeczytać pierwotną treść, zapraszam na Steemit – ten wpis zawiera linki do poprzednich dni.
Czemu woda drożdżowa?
Czemu nie? To nowe doświadczenie. Powstaje fermentowana baza, której można użyć zarówno do słodkich jak I wytrawnych dań. Zawiera drożdże i odrobinkę bakterii mlekowych, tak jak zakwas. Ale przede wszystkim fajnie wygląda, wypuszczając gaz w butelce.
Ciekawym aspektem jest brak glutenu – pomocne dla celiaków. Piekłem na niej już chleb bezglutenowy i był bardzo smaczny.
Jakich owoców użyć?
A jakie masz? Za pierwszym razem użyłem świeżych owoców z targu:

Wziąłem trochę śliwek, malin i borówek, i wrzuciłem je do wody w słoiku.
Jeśli masz dojrzałe jabłka lub gruszki w ogrodzie, użyj ich. Śliwki? Idealne. Jedynie słyszałem radę, aby nie używać ananasa (enzymy zniszczą ciasto, jeśli ananasa się nie przetworzy jakoś; wiem że ludziom się to udawało, ale moim zdaniem jest to przerost formy nad treścią).
Drugą wodę drożdżową zrobiłem z daktyli, kupionych w sklepie. Dobrze sobie poradziły. Rodzynki też dadzą radę. Widziałem nawet wodę z płatków kwiatów.
Jak długo to zajmie?
Pierwszy chleb upiekłem po pięciu dniach. Potem woda jest już gotowa i będzie dobra w zasadzie zawsze.
Na jak długo wystarczy?
Jak ruszy, będzie się trzymać. Jeśli nie korzystasz, schowaj ją do lodówki i nakarm od czasu do czasu. Ja moją przepuszczam przez sitko, aby odcedzić stare owoce, myję butelkę, wlewam czystą wodę, dodaję owoce i trochę starej wody. Jeśli mam pomysł, resztę zużywam na pieczenie. Jeśli nie, wyrzucam.
Najdłużej trzymałem wodę bez opieki przez siedem miesięcy – piekłem na niej w Boże Narodzenie, schowałem do lodówki. Potem wróciłem do niej w lipcu, nakarmiłem i upiekłem na niej dwa-trzy dni później. Do karmienia użyłem papierówek i mirabelek zza Rodziców ogrodu.
Ostrzeżenie
Będziesz fermentować owoce, więc spodziewaj się dużej ilości muszek owocówek. Chyba jedyny względnie działający na nie sposób (że nie weszły do słoika) to folia spożywcza, luźno owinięta wokół nakrętki (ale tak, żeby dwutlenek węgla wyszedł na zewnątrz).
W wyniku fermentacji będzie wydzielał się dwutlenek węgla. To nie tylko fajne zjawisko. Jeśli masz szczęście, możesz osiągnąć coś takiego:
Jeśli średnio masz szczęście, możesz musieć zmywać wodę ze ściany, kiedy nakrętka wystrzeli z butelki.
Jeśli masz trochę pecha, możesz mieć plamy z owoców na suficie lub wybite okno (widziałem zdjęcia, gdzie rozsadziło słoik na parapecie)
Jeśli masz pecha dużo, komuś może stać się krzywda.
To nie żart, ciśnienie może poważnie uszkodzić pojemnik. Albo nie zamykaj go szczelnie, albo użyj rurki fermentacyjnej. Ja używam nieszczelnej butelki. Na wolne reakcje wystarcza, na aktywniejsze zakładam rurkę fermentacyjną – kupiłem takie jak do robienia wina.
Jak zrobić wodę drożdżową
- Umyj wybrane owoce. Najlepiej opłukaj, a nie szoruj, aby zostało na nich trochę drożdży
- Umieść owoce w pojemniku i dodaj wody
- Pozostaw w ciepłym miejscu
- Codziennie przemieszaj dwa razy
To tyle, serio.
Możliwe modyfikacje:
- Dodaj rodzynki jako źródło cukru
- Dodaj miód jako źródło cukru
- Dodaj cukier jako źródło cukru
Ja dodałem po trzech dniach miodu, gdy myślałem, że woda nie jest zbyt aktywna. Poza tym użyłem raz czy dwa razy cukru kiedy nie miałem pod ręką owoców na pożywkę. Cukier generalnie nieźle ruszy. Znam ludzi, którzy dodają go przy każdym karmieniu. Ich woda jest znacznie bardziej aktywna od mojej, ale nie jest to dla mnie problem

Po kilku dniach otrzymałem coś takiego:
A potem było jeszcze aktywniej.
Chleb
Użyłem przepisu z The Fresh Loaf. Przygotowałem składniki, przejrzałem przepis, abym nie pokręcił wszystkiego, jak to ja mam w zwyczaju(źródło). Uznałem że wszystko wyjdzie.

Planowanie
30 minut autolizy, 2.5h wyrastania wstępnego (ze składaniem ciasta, więc nie można o nim zapomnieć na ten czas), wstępne formowanie, 20 minut, formowanie, 1 godzina na blacie, 8 godzin w lodóce. Pieczenie przez 40 minut. Razem 13 godzin. Dodaj 30 minut obróbki.
Użyłem koszyka do wyrastania. Jeśli takiego nie masz, użyj durszlaka z oprószoną czystą ściereczką kuchenną.
Składniki
Ja użyłem podwójnych porcji, bo mam spory koszyk. Poniższe są niezmienione w stosunku do oryginału.
- 198 g pszennej mąki chlebowej (W Polsce typ 850, w Wielkiej Brytanii strong white)
- 158 g mąki tortowej (W Polsce typ 390-450 tortowa, w Wielkiej Brytanii plain)
- 40 g mąki pszennej pełnoziarnistej (W Polsce typ 1100 lub więcej, w Wielkiej Brytanii wholemeal strong)
- 8 g soli
- 266 g wody drożdżowej
Przygotowanie
- Zmieszaj mąki z wodą drożdżową. Upewnij się, że cała mąka połączyła się z wodą. Jeszcze nie wyrabiaj
- Zostaw ciasto przykryte folią spożywczą na 30 minut na autolizę – w skrócie to jest samowyrabianie ciasta. Wykorzystuje czas, aby woda połączyła się z gluteiną i gliadyną w gluten. Enzymy aktywowane przez wodę jeszcze wzmacniają ten proces i przygotowują ciasto do dalszej pracy
- Dodaj sól i wyrabiaj ciasto. Ja trzymam miske z wodą obok ciasta i maczam rękę, aby nic się do niej nie kleiło. Najpierw składam ciasto, potem szczypię je i ponownie składam przez kilka minut
- Pozostaw pod folią spożywczą na 50 minut
- Złóż ciasto, pozostaw pod folią spożywczą na 50 minut
- Ponownie złóż ciasto, pozostaw pod folią spożywczą na 50 minut
- Wstępnie uformuj ciasto, ja zaokrągliłem. Pozostaw na 20 minut
- Uformuj ciasto w ostateczny kształt. W moim przypadku owalny bochenek. Włóż do koszyka czy w czym tam wyrastasz swój chleb. Nie pozostawiaj go na płaskim. Gdyby chleb wyrastał szybko, to mogłoby zadziałać. W tym przypadku będzie czekał na pieczenie jeszcze 9 godzin. Pozostaw go na jedną godzinę na blacie kuchennym
- Włóż go do lodówki na jeszcze osiem godzin
- Nastaw piekarnik na 240 stopni. Nie używaj konwekcji. Znaj swój piekarnik
- Zaparuj piekarnik, natnij bochenek (ja zazwyczaj robię jedno podłóżne nacięcie w nadziei na ładne otwarcie i ucho), włóż do piekarnika
- Po 15 minutach wypuść parę i obniż temperaturę do 230 stopni. Piecz przez kolejnych 25-30 minut
- Wyjmij chleb na kratkę do ostygnięcia
Jeśli zużyjesz większość Twojej wody, nakarm resztę i dodaj świeżej kranówki.

Zazwyczaj nie czuć w chlebie owoców. Może poza pierwszym – za bardzo wyciskałem i w rezultacie dodałem do chleba przecieru owocowego. Chleb był też nieco różowy. Potem już tak nie było.

Wiele można zrobić z wody drożdżowej. Polecam tag yeast-water, gdzie znajdziesz kilka pomysłów.
3 Replies to “Yeast water. Woda drożdżowa.”