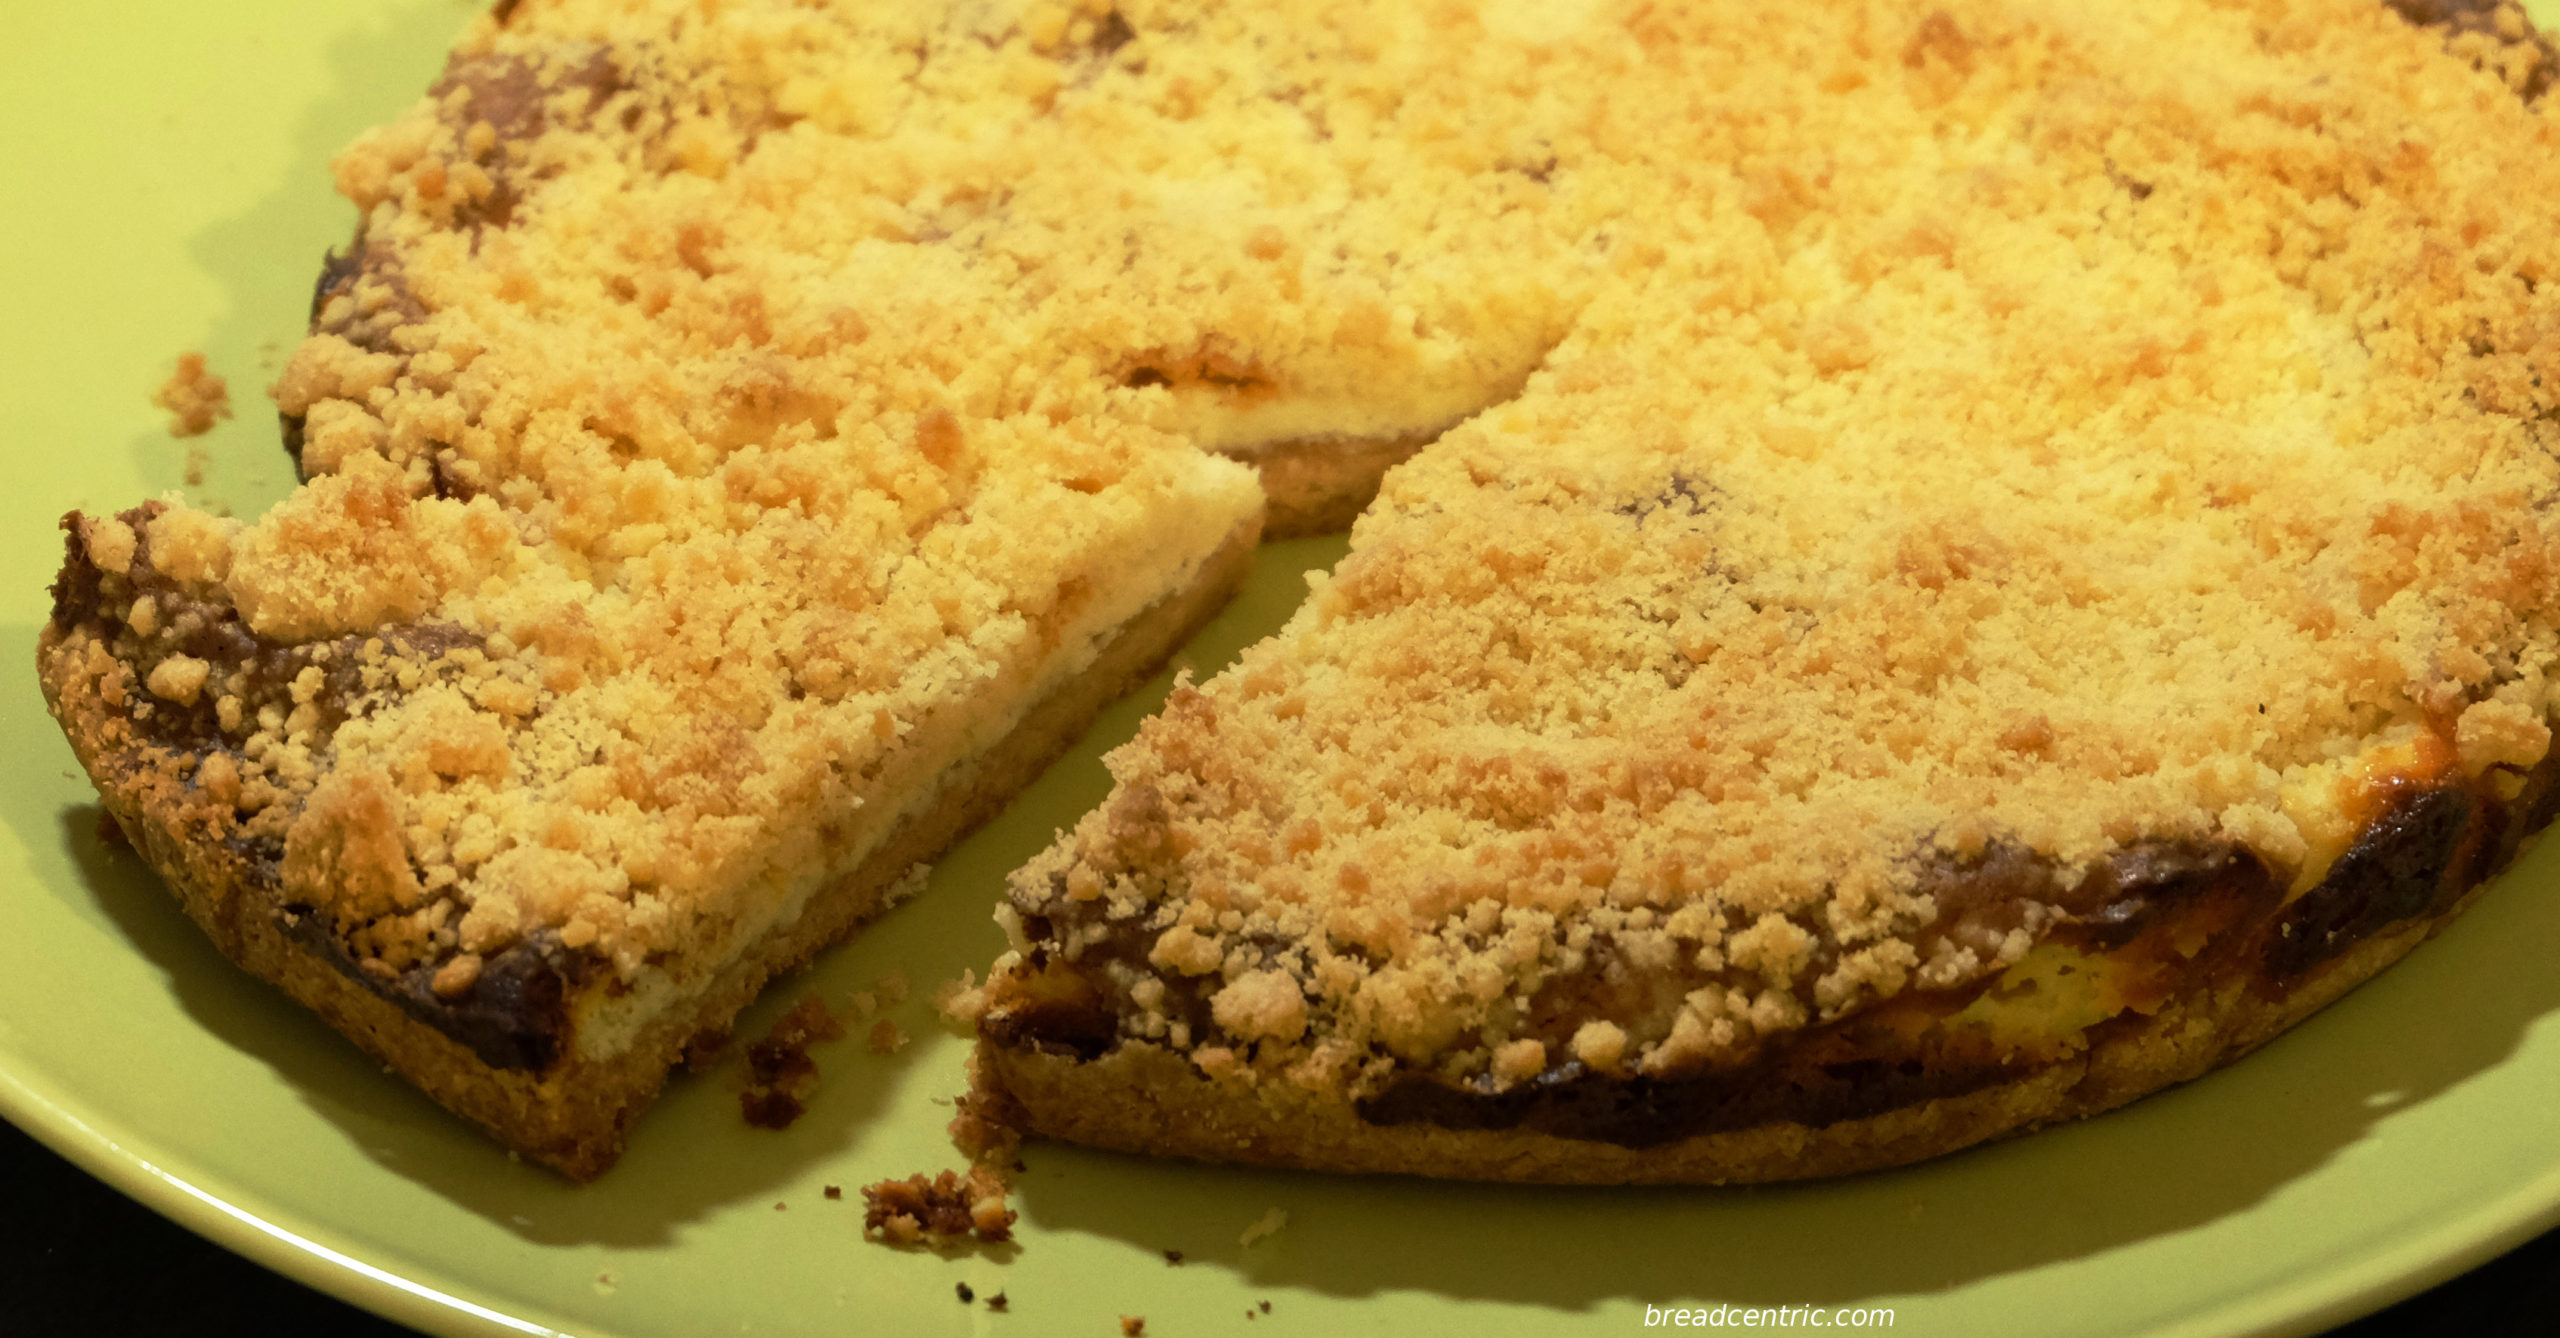
I have recently made a leftover cake using cheese and crumble from another bake. I was actually surprised that it worked.
Ostatnio zrobiłem ciasto z resztek, wykorzystując kruszonkę i ser z innego wypieku. Byłem dość zaskoczony, że wyszło.
I’m not a chef pastry, I don’t really know how to bake cakes. If I managed to make something like this just by trying, it must work for everyone.
When I made drożdżówki, I was left with quite some crumble and cheese filling. I was considering throwing it away, but eventually I took a tart tin and made a cake.
Just to recall the sources:
- Cheese filling (just remember, this uses Polish cheese called twaróg): Domowe wypieki
- Crumble: Beata Śniechowska
Planning
None. You’ll need a tart tin, mine was 25-30 cm in diameter.
Ingredients
When making the buns, I had about hald of the crumble and halfo of cheese left, so these are the quantities I’m providing.
Crumble
- 50 g plain flour
- 25 g soft butter
- 25 g icing sugar
Cheese
- 150 g twaróg cheese
- 15 g soft butter
- 40 g sugar
- 1 egg yolk
Preparation
- Work the crumble ingredients into a crumbly dough with your hands. I mix flour with sugar, then add butter and start pinching it through flour until the texture is right
- Blend the cheese, I used a grinder but you can use a blender. Add other ingredients and work into a smooth paste
- Set the oven to 180 C degrees
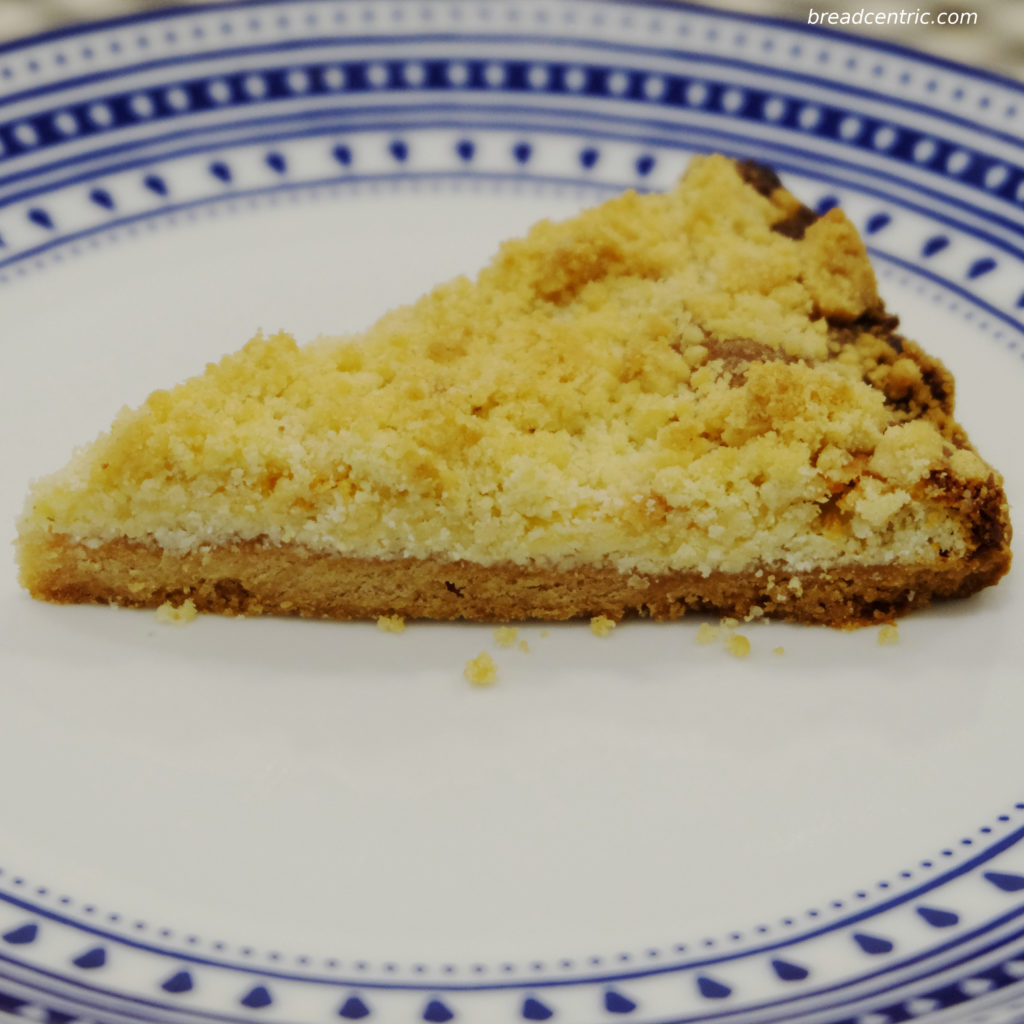
- Put some of the crumble on the base of the tin and press it to form a solid crust. Mine was about 4-5 mm thick. In general, the base is more important than the crumble on top, so make sure it is covering the whole base, but isn’t too thick
- Bake it for about 10 minutes. It will still be soft, but will start catching yellow-brown colour
- Put the cheese on top and cover with the rest of crumble
- Bake for 25-30 minutes or until it becomes golden-brown
- Leave to cool down
Yes, it’s that simple. In terms of taste, it’s a bit too sweet, but then the crumble is made as a sweet addition to a cake and not to be the cake itself. You can remove a bit of sugar to make it less sweet, but then I don’t think I would.
The result was surprising – I had one piece after baking and the following day after work it was already gone – the kids loved it. Let me know if it works the same for you.
Nie jestem cukiernikiem, raczej nie umiem piec ciast. Jeśli zrobiłem coś takiego na ślepo i wyszło, wyjdzie każdemu.
Kiedy robiłem drożdżówki, po wykonaniu bułek zostało mi trochę kruszonki i sera na nadzienie. Myślałem czy je wyrzucić, ale ostatecznie wyjąłem foremkę na tartę i popełniłem ciasto.
Przypomnę tylko źródła:
- Nadzienie serowe: Domowe wypieki
- Kruszonka: Beata Śniechowska
Planowanie
Brak. potrzebujesz foremkę na tartę, moja ma 25-30 cm średnicy.
Składniki
Zostało mi około połowa kruszonki i sera z drożdżówek, więc podaję ilości z połowy porcji.
Kruszonka
- 50 g zwykłej mąki
- 25 g miękkiego masła
- 25 g cukru pudru
Ser
- 150 g twarogu
- 15 g miękkiego masła
- 40 g cukru
- 1 żółtko jajka
Przygotowanie
- Wyrób kruszonkę. Ja mieszam mąkę z cukrem w misce, następnie daję masło i szczypię ją przez mąkę aż zrobi się kruszonka
- Zmiel ser, dodaj pozostałe składniki i wyrób na gładką masę
- Nastaw piekarnik na 180 stopni z termoobiegiem
- Wysyp część kruszonki na spód foremki i ugnieć tak, aby zbryliła się i połączyła w ciasto. Moja miała jakieś 4-5 mm grubości. Generalnie spód musi być, a kruszonka na wierzchu nie musi, więc zadbaj o całkowite pokrycie spodu, byle równo i nie za grubo
- Podpiecz spód przez około 10 minut. Będzie jeszcze miękki, ale lekko zarumieniony
- Nałóż masę serową i posyp ją resztą kruszonki
- Piecz przez 25-30 minut lub aż się zarumieni
- Pozostaw do ostygnięcia
Tak, to tak proste. Smakowo: trochę słodkie, bo jednak kruszonka jest z założenia słodkim dodatkiem w wypiekach, a nie samym ciastem. Jednocześnie nie sądzę, że bym cokolwiek zmieniał.
Rezultat był dość zaskakujący (jak na moje wypieki) – po upieczeniu zjadłem jeden kawałek, a dzień później już niczego nie było – dzieci wszamały całość. Dajcie znać jak wyszło u Was.